Smart Home – openHAB 2 Configuration with Smart Home Desginer
Some of the readers of my blog do have problems with the openHAB 2 configuration and the Smart Home Designer. I fully can understand that. It will take some time to understand the logic and coding syntax. This post will guide you how to use the Smart Home Designer. Furthermore will you will learn about Sitemaps, Items, Groups etc. to get the most out of your openHAB 2 Smart Home.
First of all you need an up and running openHAB 2 server. If you do not have one, read the post Smart Home – openHAB 2 Installation und Configuration. Here you will learn what hardware you need and how to get the openHAB 2 server running.
If you would like a structured openHAB 2 video training, please enroll in my openHAB 2 training.
openHAB 2 Configuration – Eclipse SmartHome Designer
openHAB 2 Configuration – Eclipse SmartHome Designer – Installation
First of all download the Eclipse SmartHome Designer. You will find the latest release version and also snapshot version. I suggest you download both versions, because sometimes there are features and syntax checks, that are not in the stable version. My recommendation is to work with the release version and switch to the snapshot version if you encounter any problems. If you still have an error in your syntax, it will be wrong in most of the cases. =)
Unpack the downloaded files and you will find SmartHome-Designer.exe. Because you will work on your Smart Home from time to time, you should put a link to this file in your start menu. Double Click to start the Smart Home Designer.
openHAB 2 Configuration – Eclipse SmartHome Designer – Folder
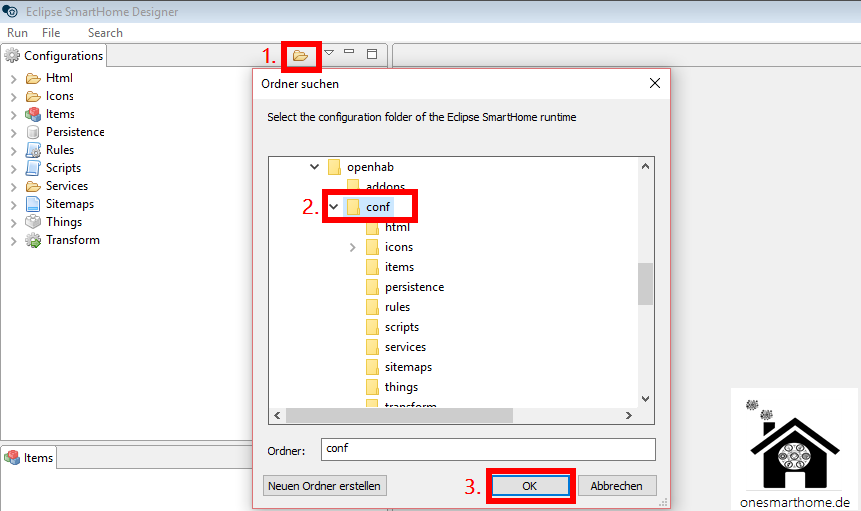
At the beginning you have to pick the folder were openHAB 2 stores the configuration files. In Windows this will be in your openHAB 2 installation folder. There is a folder conf. So if you installed openHAB 2 C:\openhab\ the path will C:\openhab\conf. Pick the small folder icon (1) and choose the configuration folder (2). Click OK (3)
openHAB 2 Configuration – Eclipse SmartHome Designer – File Creation
It is not self explaining how to create your files in which you will put your source code for the Items, Rules etc. This files are missing and you have to create them.
Follow these steps:
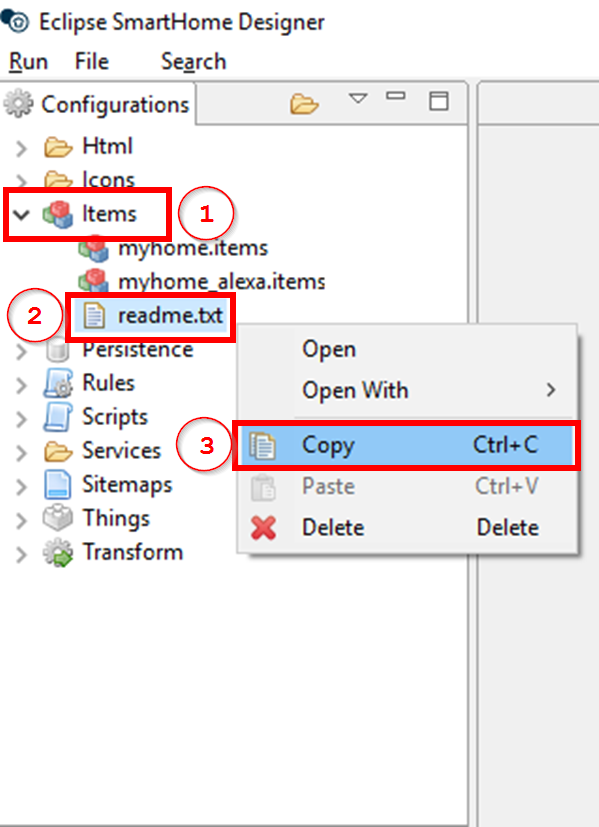
- Open the folder in the section Configurations in which you want to create the file.
- Do a double click on readme.txt. Here you will find a hint “All items files have to have the “.items” file extension and must follow a special syntax.” on the file extension. I will do so. Right Click on the readme.txt
- Choose Copy
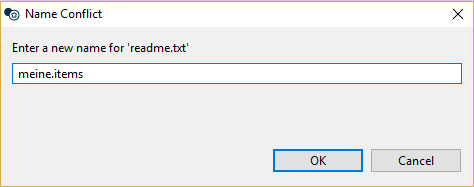
Now do a right click on the readme.txt again and paste. Now put in a Name and the file extension. I will choose meine.items.
After clicking OK double click on your new file (1) and delete the existing text (2)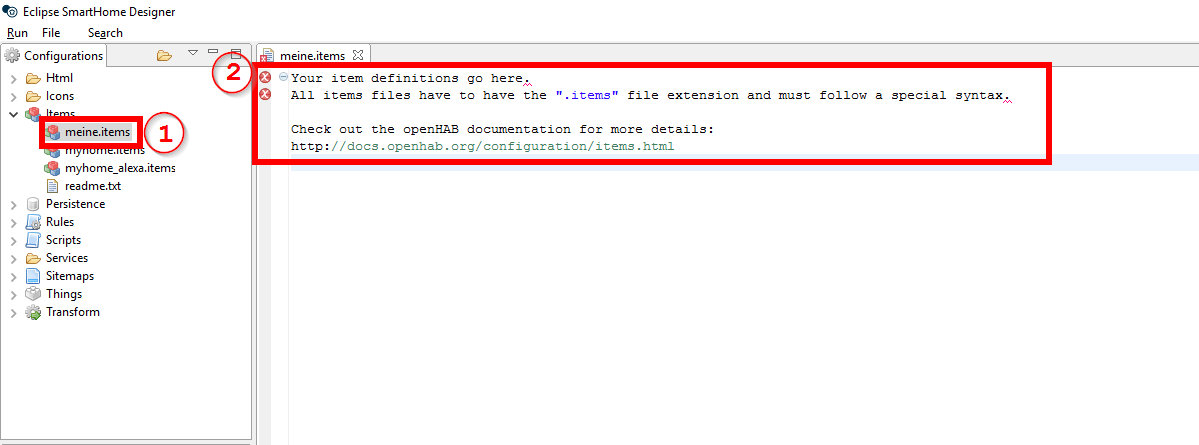
Now you are ready to go to create your first items.
openHAB 2 Configuration – Items
The syntax of an item looks like this.
itemtype itemname "description" <iconname> (group1, ..., groupn) ["speech_tag"]{binding}
Confusing? Yeah, but I will guide you through the item configuration step by step.
openHAB 2 Configuration – Items – Itemtypen
The item type will be needed to differ between the different functions (dimming, switches, heating etc.) Here is an overview of the different item types.
openHAB 2 Configuration – Items – Name
You should loose some kind of logic to name your item, because it will make life much more easier later on. If you only choose lamp, you will not now were the place of the lamp is, when you go back in half a year… So choose something like
floorlevel_room_function_place
So if we use a simple switch our item will look like this. gf(ground floor)_ba(throom)_li(ght)_ceiling.
Switch gf_ba_li_ceiling
openHAB 2 Configuration – Items – Description
You may choose your desired description. If you would like speech recognition like explained in Smart-Home-openhab-2-Speech-Recognition you should choose a word that your Amazon Echo will understand.
Good description are “Dining Table”, “Bath Ceiling”, “Livingroom Cornerlight”. So we will define our description.
Switch gf_ba_li_ceiling "Bath Ceiling"
openHAB 2 Configuration – Items – Icons
If you like nice icon (like I do) you are able to assign different icons to your item. You will do this by putting the iconname in triangular brackets <>. To find your icons, simply go to openHAB Classic Iconset. Now do a mouse over and the name will show. Ihr könnt einfach mit der Maus über das Icon fahren und der Name wird angezeigt. Den angezeigten Namen packt ihr dann in die dreieckigen Klammern. A simple lamp could be displayed with <light>.
But I would like the rain icon to display water drops (bath room). The item will grow like this.
Switch gf_ba_li_ceiling "Bath Ceiling" <rain>
openHAB 2 Configuration – Items – Groups
Groups are some kind of special items. They will be created in the items file as well. I choose a small g and and the room or function as group name. Simply put in Group in front of your group. Here are two examples we will integrate in our item.
Group gBath
Group gLight
The group will be set in round brackets. You can assign an item to more than one group. In my example I would like to have the bathroom switch in the Group of my room (gBath) and of the function light (gLight). You will list all the groups seperated by comma (gBath, gLight).
Our item will now look like this.
Switch gf_ba_li_ceiling "Bath Ceiling" <rain> (gBath, gLight)
openHAB 2 Configuration – Items – Speech Recognition
If you are a proud owner of a Amazon Echo or Echo Dot, you may tag your item to get Speech Recognition functionality for your item. You will do that with square brackets []. A detailed guide how it works can be read in the post Smart-Home-Speech-Recognition. An by the way. You do not need KNX. You could also control your Z-Wave, Zigbee or whatever devices.
The following tags are possible.
["Lighting"]
["Switchable"]
["TargetTemperature"]
Our item will grow a bit more.
Switch gf_ba_li_ceiling "Bath Ceiling" <rain> (gBath, gLight)["Lighting"]
openHAB 2 Configuration – Items – Binding Configuration
Still not enough of brackets. No we get the last one. The curly brackets {} are for the binding configuration. The configuration is very specific for each binding. You should check the offical documentation of openHAB 2 to get the correct syntax. I will show you an example of KNX. KNX will be connected to the group address that has been configured in your ETS.
My item looks like this.
Switch gf_ba_li_ceiling "Bath Ceiling" <rain> (gBath, gLight)["Lighting"] { knx="<5/1/41" }If you use the Philips Hue, it might look like this.
Color gf_ba_li_mirror "Bath Mirror" <rain> (gBath, gLight)["Lighting"] { channel="hue:0210:001234567890:2:color" }openHAB 2 Configuration – Items – Examples
Now we put all our items into the item file.
/************************************************** Groups ********************************************/
//--> Rooms
Group gBath

//--> Functions
Group gHLight


/************************************************** Items ********************************************/
//---> Ground Flooor
//-->  Bath
Switch gf_ba_li_ceiling "Bath Ceiling" <rain> (gBath, gLight)["Lighting"] { knx="<5/1/41" }
Color gf_ba_li_mirror "Bath Mirror" <rain> (gBath, gLight)["Lighting"] { channel="hue:0210:001234567890:2:color" }
openHAB 2 Configuration – Sitemap
The next element is your sitemap. Create an file as described above. Use the file extension .sitemap. I will name it myHome.sitemap Building your sitemap also has some logic (Syntax). The syntax looks like this.
sitemap [NAME] [label="Description"] {
  Frame [label="Description"] {
      [Eure Items]
  }
}
Always remember the following. The sitemap is always the first element. In curly brackets {} will be your frames. They will structure your sitemap and show items and groups. Groups will be opened in another screen.
openHAB 2 Configuration – Sitemap definition and first call
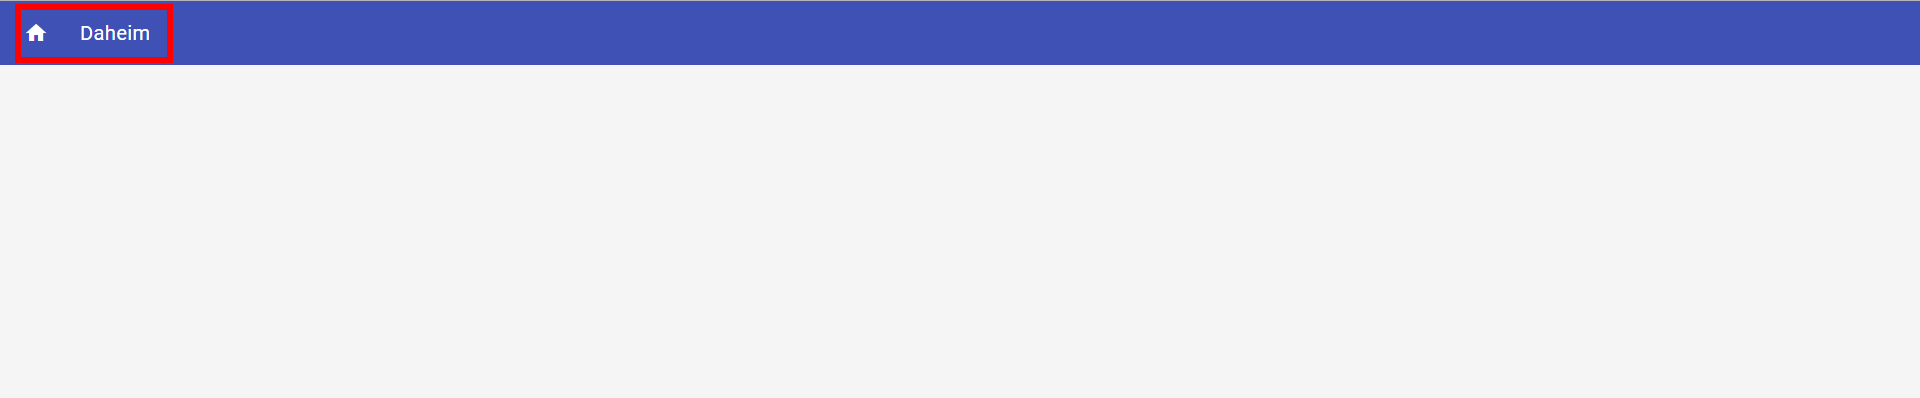
Try it first by creating your sitemap. I pick “Daheim” as description.
sitemap Standard [label="Daheim"] {
}
Now you may already call your sitemap with the following link. The
http://<openHAB_IP>:8080/basicui/app?sitemap=myHome
If you would like to use the Classic UI? You have to call
http://<openHAB_IP>:8080/classicui/app?sitemap=myHome

openHAB 2 Configuration – Frames
Now its time to get your items into the sitemap. We will use two frames. One will be used for the groups. The other one will be used to show items on the main screen. Typically this is useful for items you use a lot. This could be a central function like switching off all light before you leave your house or go to bed.
sitemap meinHaus label="Daheim" {
Frame label="Gruppen" {
   Group item=gBath     label="Bath GF" 	icon="rain"
   Group item=gLight    label="Light"  	        icon="group"
      }

 Frame label="Items" {
   Switch item=gf_ba_li_ceiling
   Colorpicker item=gf_ba_li_mirror
 }
}
To keep it simple I will only show the Basic UI. You will see the groups and the items. 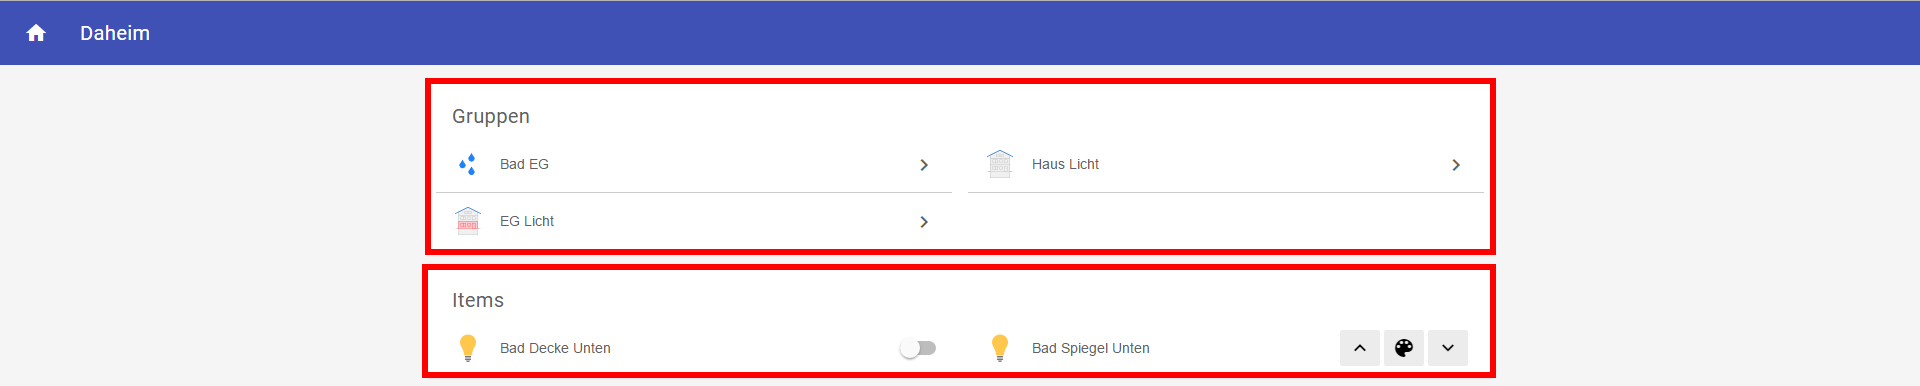
I hope it is a bit easier for you now. If you would like a audiovisual training that helps you getting startet, enroll in my openHAB 2 Course.